

Whether you’re planning a major renovation or are looking for a quick face-lift of your interior, changing the locksets on the doors in your home can make a subtle but significant statement about you. Locksets come in a wide range of styles and finishes, but their purpose is mainly the same. They are affordable to buy and are fairly simple to install yourself.
Step 1
Assuming that you’ve already drilled the edge and the face bore, the next thing to do is mark the position of the latch plate. You should outline them on the door with the assembly inside the edge bore and the beveled edge of the T handle door latch set facing towards the doorjamb. This should be done with a utility knife.
Step 2
Next, you’ll need to take a chisel and cut along the marked edges with the same depth that the latch plate has. Now the job gets a little bit tedious as you’ll need to chisel the same depth between the top and bottom of the outline, every 0.3 cm. Working from the middle and out you should remove the waste by turning the chisel with the bevel-side down.
Step 3
For the main part, you will reinsert the T handle door latch assembly in order to mark the screw holes of the latch plate which is also the last time you’ll remove the assembly from the edge bore. Once you’ve done that, you will drill two pilot holes with a 0.23 cm bit and reinsert the latch assembly for the last time and screw it in.
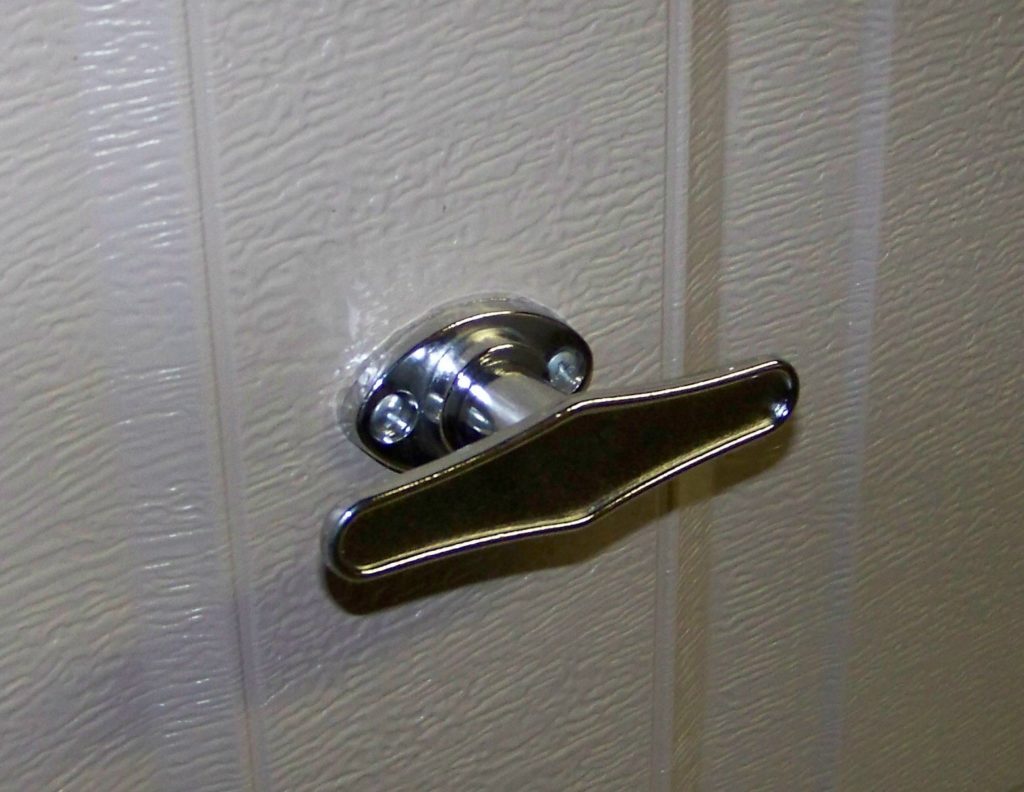
Step 4
Once you’ve put the assembly in place, you will take the handle and slide it with the spindle going through the assembly and the face bore, which you will then fit the inside handle over the spindle. Afterward, you will just thread the screws by hand and tighten them firmly.
Step 5
The final part will be to install the strike plate mortise, which you will start by outlining the correct position. You will do so by closing the door and with the latch touching the edge of the door jamb, which you will mark at the midpoint of the latch. You will then extend the stretch of this mark in the form of a square across the jamb and to the doorstep.
Step 6
In this final step, you will drill partially overlapping 1.58 cm holes with a 2.2 cm bit – these need to be centered above and below the midpoint. If needed, you will square the sides of the mortise using a chisel. Then you will outline the strike plate over the mortise with a utility knife with the same depth as the thickness of the plate and drill pilot holes with the same 0.23cm bit. Screwing it in place will finalize this whole process.


